


One small mistake. That’s all it takes. Set the wrong temperature—and your entire print is at risk. Peeling edges. Dull colors. Cracks after one wash. It happens more often than you think, especially when working with custom DTF transfers.
The truth? Heat press settings are not just technical details. They decide whether your print looks premium—or completely fails. Too much heat damages the design. Too little, and your custom DTF transfers won’t adhere properly.
If you’ve struggled with inconsistent results, this is where you need to focus. In this blog, we’ll break down the exact temperature, time, and pressure settings you need to get clean, vibrant, and long-lasting results with custom DTF transfers—every single time.
What is DTF Printing? (Quick Overview)
DTF (Direct-to-Film) printing is a process where designs are printed onto a special film and then transferred onto fabric using heat and pressure. It allows full-color, high-detail prints on almost any material.
The heat press plays a critical role. It activates the adhesive powder and bonds the design to the fabric. This step determines how well the print sticks and lasts.
Temperature is everything in DTF. Too high, and the print can crack or burn. Too low, and it won’t adhere properly. Getting it right ensures vibrant, durable, and professional-quality results.
What is the Best Temperature for DTF Printing?
Getting DTF printing right isn’t just about one setting. It’s about control. Temperature, time, and pressure must work together. Miss one—and the print suffers.
Let’s break it down.
Temperature
Temperature is the foundation. It activates the adhesive and locks the design into the fabric.
The standard range sits around 300°F (150°C). This works well for most cotton garments and standard films. But real-world printing isn’t that simple.
You’ll often need to adjust:
-
280–295°F: Safer for polyester and heat-sensitive fabrics
-
300–310°F: Ideal for cotton and thicker materials
-
Film variations: Some films require slight tweaks for proper bonding
Too much heat? You risk burning the fabric or over-melting the adhesive.
Too little? The print won’t fully stick.
This becomes even more critical in gang sheet printing, where multiple designs share one sheet. A slight temperature mismatch can affect every design on that sheet—not just one.
Time
Time controls how long the adhesive has to bond.
The standard pressing duration is:
-
10–15 seconds for most DTF transfers
Shorter time can lead to:
-
Weak adhesion
-
Edges lifting after peeling
Longer time can cause:
-
Overcured adhesive
-
Stiff prints or slight discoloration
Consistency matters more than anything. If you’re running multiple orders or handling bulk production, even a 2–3 second variation can create inconsistent results across prints.
A good approach? Start at 12 seconds. Test. Then adjust based on fabric and film response.
Pressure
Pressure is often ignored. Big mistake.
It ensures full contact between the transfer and the fabric. Without it, even perfect temperature and time won’t help.
For DTF printing, aim for:
-
Medium to firm pressure
Here’s what that means in practice:
-
The press should feel tight when closing
-
Even pressure across the platen
-
No gaps or uneven contact
Too much pressure can:
-
Flatten the design excessively
-
Push adhesive out, affecting durability
Too little pressure can:
-
Leave areas unbonded
-
Cause peeling after washing
Again, in gang sheet printing, uneven pressure becomes more obvious. Some designs may adhere perfectly, while others fail—on the same sheet.
Also read: DTF Transfer Curing: What It Is and How It Affects Print Durability
Temperature Variations Based on Fabric Type
Not all fabrics react the same to heat. That’s why using a fixed temperature for every print is a mistake. Different materials absorb heat differently, which directly impacts how well the transfer bonds.
-
Cotton: The easiest to work with. Handles standard settings well. Around 300°F (150°C) works perfectly for most cotton garments, giving strong adhesion and vibrant results.
-
Polyester: More sensitive to heat. High temperatures can cause scorching or dye migration. It’s safer to lower the range to 280–295°F while maintaining proper pressure.
-
Blends (Cotton/Poly mix): These need balance. Too much heat affects the polyester; too little impacts adhesion on cotton. Staying close to 290–300°F usually works best.
-
Nylon & Specialty Fabrics: These are tricky. They require lower temperatures and careful testing. Adhesion can be difficult, so specialized films or adhesives may be needed.
The reason behind these adjustments is simple—each fabric reacts differently to heat and pressure. Understanding this helps you avoid damage, improve durability, and get consistent, professional-quality prints every time.
Cold Peel vs Hot Peel: Does Temperature Change?
In DTF printing, peel type matters more than most people realize. It directly affects finish, durability, and even how your design looks.
Cold peel means you let the transfer cool down completely before removing the film.
Hot peel means you remove the film immediately after pressing, while it’s still hot.
Simple difference. Big impact.
Here’s how they affect your process:
-
Cold Peel:
-
Standard temperature: ~300°F
-
Requires cooling time before peeling
-
Produces a more matte, smooth finish
-
Better for detailed and high-quality prints
-
Hot Peel:
-
Slightly lower or similar temperature depending on film
-
No waiting—peel instantly
-
Faster production
-
Slightly glossier finish
Timing is the real differentiator here. Cold peel takes longer but gives more control. Hot peel speeds things up but leaves less room for error.
When should you use each?
-
Use cold peel for premium prints, complex designs, and when quality matters most
-
Use hot peel for fast production, simple designs, and bulk orders
Temperature may not change drastically, but timing does. And in DTF printing, small timing differences can completely change your final result.
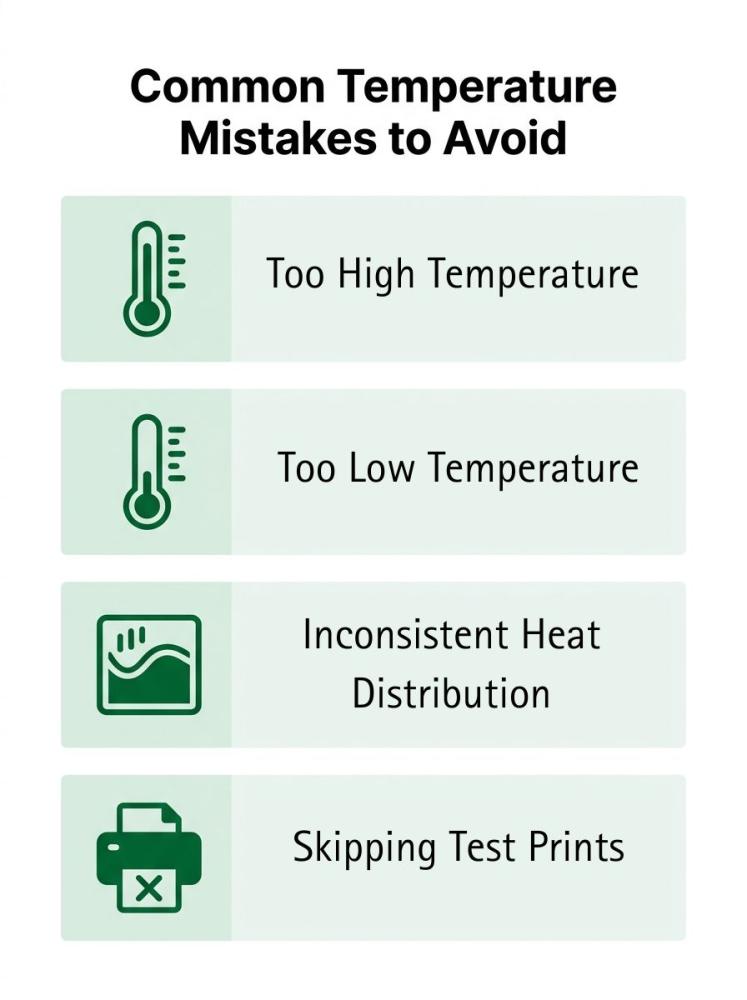
Common Temperature Mistakes to Avoid
Let’s be real—most DTF print failures come down to temperature mistakes. Small errors. Big consequences.
1. Too High Temperature
More heat doesn’t mean better results. It often does the opposite.
-
Prints can crack after washing
-
Fabric may scorch or discolor
-
Adhesive can over-melt, ruining flexibility
You might get a print that looks fine at first—but fails quickly. That’s the danger.
2. Too Low Temperature
This is just as bad, if not worse.
-
Poor adhesion to fabric
-
Edges start peeling immediately
-
Print fades faster over time
If the adhesive doesn’t fully activate, the design simply won’t hold.
3. Inconsistent Heat Distribution
Even if your temperature setting is correct, uneven heat can ruin results.
-
Some areas stick perfectly
-
Others lift or peel
-
Designs look patchy
This often happens with worn-out heat presses or uneven pressure. It becomes a serious issue in bulk DTF printing, where consistency is everything.
4. Skipping Test Prints
This is the most common mistake—and the easiest to avoid.
-
Every fabric behaves differently
-
Every film reacts differently
-
Settings are never “one-size-fits-all”
Skipping tests leads to wasted garments, reprints, and lost time.
Signs Your DTF Temperature is Wrong
Not sure if your temperature settings are off? Your prints will tell you. You just need to know what to look for—and act fast before it affects your entire batch.
Peeling After Wash
This is one of the most obvious signs. If the design starts lifting after just one or two washes, your temperature was likely too low. The adhesive didn’t fully activate, so the bond is weak from the start.
Faded or Dull Prints
DTF prints are meant to be vibrant. If colors look flat or washed out, something’s off. Incorrect temperature can affect how the ink sets, making the design lose its impact.
Rough or Stiff Texture
A proper print should feel soft and flexible. If it feels thick, rigid, or overly plastic-like, you may be using too much heat or pressing for too long.
Ink Not Fully Transferred
If parts of the design remain on the film after pressing, it’s a clear sign of insufficient or uneven heat.
These are early warning signs. Ignore them—and you’ll end up with reprints, wasted materials, and unhappy customers.
Step-by-Step DTF Heat Press Process
Getting consistent DTF results isn’t complicated—but it does require discipline. Every step matters. Skip one, rush another, and your print quality drops fast. Here’s how to do it right.
1. Pre-Press the Garment
Before applying the transfer, always pre-press the garment for 3–5 seconds.
Why this matters:
-
Removes moisture from the fabric
-
Eliminates wrinkles
-
Creates a smooth, even surface
Moisture is your enemy. If you skip this step, the adhesive may not bond properly.
2. Apply the Transfer
Place the DTF transfer film on the garment with the design facing down.
Make sure:
-
The placement is aligned correctly
-
The film lies flat with no folds or air gaps
Even a slight misalignment can affect the final look. Take a second to position it properly.
3. Press with Correct Temperature
Now comes the critical step.
Use standard settings:
-
Temperature: ~300°F (150°C)
-
Time: 10–15 seconds
-
Pressure: Medium to firm
Close the heat press evenly and let it do the work. Avoid opening it too early or applying uneven pressure. This step activates the adhesive and bonds the design to the fabric.
4. Peel Method (Hot or Cold)
Once pressing is done, follow the correct peel method based on your film type.
-
Hot Peel: Remove the film immediately while it’s still hot
-
Cold Peel: Wait until the transfer cools completely, then peel
Peel smoothly and steadily. Rushing this step can lift parts of the design.
5. Final Press (Optional but Recommended)
After peeling, do a second press for 5–10 seconds.
This helps:
-
Improve durability
-
Enhance softness
-
Lock in the design
You can use a protective sheet or parchment paper during this step to protect the print.
Also read: How Are DTF Transfers Made? A Complete Step-by-Step Guide
Pro Tips for Perfect DTF Transfers
Getting good DTF prints is easy. Getting perfect ones? That takes precision. These small tweaks can make a big difference in your final output.
Use a Heat Gun or Thermometer
Don’t rely only on your heat press display. It’s often inaccurate. Use a heat gun or infrared thermometer to check the actual platen temperature. Even a 5–10°F difference can affect adhesion and durability.
Maintain Consistent Pressure
Pressure should stay the same across every print. Uneven pressure leads to partial transfers, peeling edges, or patchy results. Make sure your heat press is calibrated and applies even force across the entire surface.
Test Before Bulk Production
Never jump straight into large orders. Always run a few test prints first. This helps you fine-tune temperature, time, and pressure based on fabric and film. It saves time, money, and frustration later.
Use High-Quality Film and Powder
Your materials matter. Low-quality film or adhesive powder can ruin even perfect settings. Invest in reliable supplies to ensure better bonding, smoother finish, and long-lasting prints.
Small improvements here lead to big gains in consistency and quality.
Real-World Scenarios
Scenario 1: Small Business Struggling with Peeling Prints
A small apparel brand keeps getting customer complaints. Prints look fine at first—but start peeling after a few washes. The issue? Low temperature and inconsistent pressure. After adjusting heat settings and adding a final press, the problem disappears. Returns drop. Confidence goes up.
Scenario 2: Bulk Order with Inconsistent Results
A shop takes on a large order. Same design. Same settings. But results vary—some prints are perfect, others look dull or lift at the edges. The cause? Uneven heat distribution and no test runs. Once they calibrate the press and test before production, consistency improves across the batch.
Scenario 3: Switching Fabric Types Without Adjusting Settings
A printer moves from cotton to polyester without changing temperature. The result? Scorched fabric and ruined garments. Different materials need different settings. After lowering the temperature and testing, prints come out clean and damage-free.
These situations happen daily. The difference is knowing how to fix them quickly.
Final Thoughts
Getting the temperature right in DTF printing is not optional—it’s critical. One small mistake can affect adhesion, color, and durability. That’s why testing should always come first. Don’t rely on guesswork.
Stay consistent with your settings. Adjust when fabrics or films change. And don’t be afraid to experiment—every setup is different.
The more you test and refine, the better your results get. Because in the end, great DTF prints don’t happen by chance—they come from control, precision, and repeatable processes.
FAQs
1. What is the ideal temperature for DTF printing?
Around 300°F (150°C) works for most fabrics, but slight adjustments may be needed based on material.
2. Can incorrect temperature cause DTF prints to peel?
Yes, low temperature prevents proper adhesion, leading to peeling after washing.
3. Does fabric type affect DTF heat press settings?
Absolutely. Cotton, polyester, and blends all require slight temperature adjustments for best results.
4. How long should I press a DTF transfer?
Typically 10–15 seconds with medium to firm pressure.
5. Should I use hot peel or cold peel?
It depends on the film. Cold peel gives better finish; hot peel is faster for production.
6. Why do my DTF prints look dull?
Incorrect temperature or pressure can affect color vibrancy and bonding.